
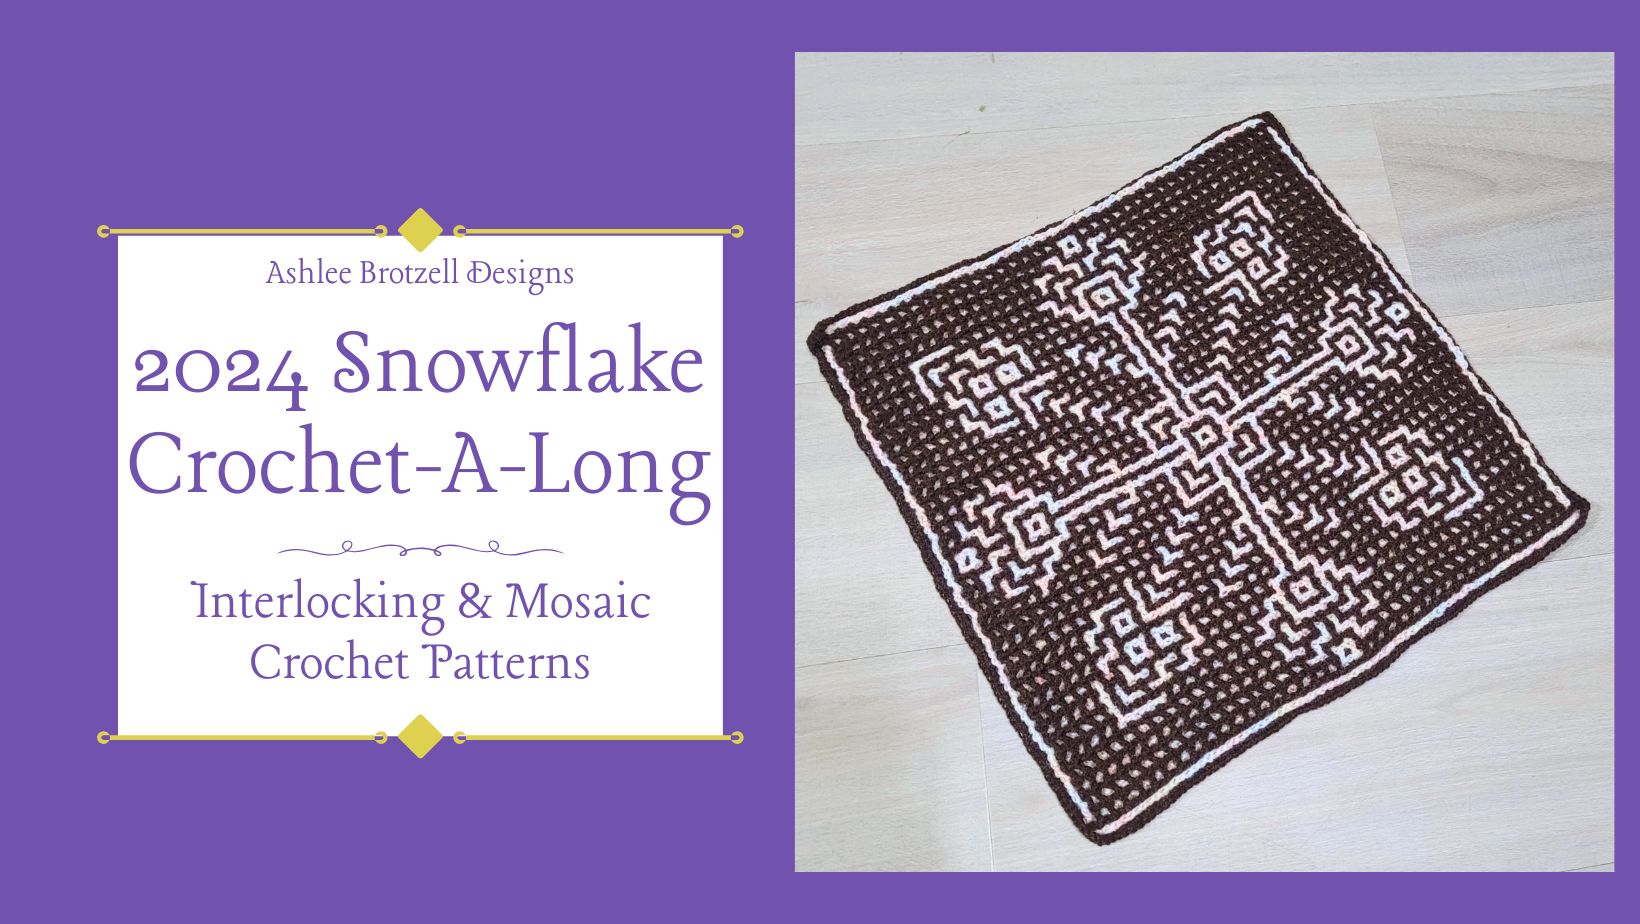
Let’s get this party started! Thank you so much for joining me in creating this warm winter blanket!
If you’re new to my patterns, please note that this is the OVERLAY MOSAIC VERSION. Go back to the main landing page to find the links to the other sections or for the interlocking version.
If you’re looking for a chart (with X’s showing the dropped double crochets) you’ll need to purchase the pattern on Etsy or Ravelry. This free version online contains the written instructions only.
Use code “MILD20” to take 20% off your purchase of the pattern for the duration of the CAL (offer ends January 31, 2022).
The width of this pattern is adjustable. It is designed as a blanket (six repeats of the pattern), but you can make it larger or smaller. Repeat between the asterisks (*) to get your required width.
Yarn weight and hook size can easily be adjusted, just keep in mind your finished project will use a different amount of yarn and be a different finished size.
Overlay Mosaic Details
- Finished measurements approximately 53” x 56”
- 4.5 mm hook (US7)
- Worsted weight yarn (3200 – 3800 yards)
- Main color – 1475 yards
- Contrasting color – 1725 yards
- Plus, optional envelope border – 600 yards
- Gauge: 16 stitches x 16 rows = 4”

Overlay Mosaic Crochet KEY
MC = Main Color: dark blue in image above
CC = Contrasting Color: light blue in image above
Sp = space
Sk = skip a stitch
CH = chain
SC = single crochet
sc = SC into Back Loop only
DC = double crochet
dc = DC into Front Loop of stitch, 2 rows below
JS = Joining Stitch: insert hook under both loops, pull up a loop, slip stitch, SC in same space
ES = End Stitch: SC under both loops, CH 1, cut yarn and pull through tightly
Overlay Mosaic Crochet Technique
Please see the YouTube tutorial for more details. I use a single-row mosaic technique where you join and cut every row.
- The front of your work is always facing you (this is the right side, the side showing the design)
- You are always working from the right to the left
- You tie on a new yarn at the beginning of each row and cut it at the end
- Yarn colors can be anything you like
- They need to contrast well (try a black and white photo to see if they are too similar)
- They need to be the same weight (size/thickness)
- My charts use black as the Main Color and white as the Coordinating Color
- I prefer using a Foundation Single Crochet to create my foundation row because then I have tails on both sides of my work just like all the other rows will have
- Even-numbered rows use MC; odd-numbered rows use CC
Foundation Row (Row 0): use Main Color (MC)
An error! My apologies! The foundation row math has been updated! It should say 207 stitches needed for the full blanket.
Use a chainless SC technique to create repeats of 34 +3 SC. Or chain 34 +4, SC in 2nd from hook and all the way back across. Cut and tie off.
FOR A BLANKET, AS DESIGNED: (34 x 6) = 204 +3 = 207 foundation single crochet stitches needed.
Switch to Contrasting Color (CC) {Even- rows use MC; odd-numbered rows use CC}
Repeat between the *s six (6) times for a blanket.
1 – JS, *sc34*, sc1, ES
2 – JS, *sc34*, sc1, ES
3 – JS, *sc34*, sc1, ES
4 – JS, *sc3, dc1, sc5, dc1, sc15, dc1, sc5, dc1, sc2*, sc1, ES
5 – JS, *sc2, (dc1, sc1, dc1, sc3) x2, dc1, sc5, (dc1, sc3, dc1, sc1) x2, dc1, sc1*, sc1, ES
6 – JS, *sc1, dc1, sc3, dc1, sc1, {dc1, sc3, (dc1, sc1) x2} x2, dc1, sc3, dc1, sc1, dc1, sc3, dc1*, sc1, ES
7 – JS, *(dc1, sc5) x2, dc1, sc3, dc1, sc1, dc1, sc3, dc1, sc5, dc1, sc5*, dc1, ES
8 – JS, *sc1, dc1, sc3, dc1, sc1, {dc1, sc3, (dc1, sc1) x2} x2, dc1, sc3, dc1, sc1, dc1, sc3, dc1*, sc1, ES
9 – JS, *sc2, (dc1, sc1, dc1, sc3) x2, dc1, sc5, (dc1, sc3, dc1, sc1) x2, dc1, sc1*, sc1, ES
10 – JS, *sc3, dc1, sc5, dc1, sc15, dc1, sc5, dc1, sc2*, sc1, ES
11 – JS, *(dc1, sc5) x2, dc1, sc9, dc1, sc5, dc1, sc5*, dc1, ES
12 – JS, *sc3, dc1, sc5, (dc1, sc7) x2, dc1, sc5, dc1, sc2*, sc1, ES
13 – JS, *(dc1, sc1) x5, dc1, sc13, (dc1, sc1) x4, dc1, sc1*, dc1, ES
14 – JS, *sc5, (dc1, sc11) x2, dc1, sc4*, sc1, ES
15 – JS, *dc1, sc1, dc1, sc5, dc1, sc1, dc1, sc13, dc1, sc1, dc1, sc5, dc1, sc1*, dc1, ES
16 – JS, *sc5, (dc1, sc11) x2, dc1, sc4*, sc1, ES
17 – JS, *dc1, sc9, dc1, sc13, dc1, sc9*, dc1, ES
18 – JS, *sc5, (dc1, sc11) x2, dc1, sc4*, sc1, ES
19 – JS, *sc12, dc1, sc9, dc1, sc11*, sc1, ES
20 – JS, *sc5, (dc1, sc11) x2, dc1, sc4*, sc1, ES
21 – JS, *dc1, sc9, (dc1, sc1) x2, dc1, sc5, (dc1, sc1) x2, dc1, sc9*, dc1, ES
22 – JS, *sc5, (dc1, sc11) x2, dc1, sc4*, sc1, ES
23 – JS, *dc1, sc1, dc1, sc5, (dc1, sc1) x9, dc1, sc5, dc1, sc1*, dc1, ES
24 – JS, *sc5, dc1, sc5, dc1, sc11, dc1, sc5, dc1, sc4*, sc1, ES
25 – JS, *(dc1, sc1) x4, dc1, sc5, (dc1, sc1) x3, dc1, sc5, (dc1, sc1) x3, dc1, sc1*, dc1, ES
26 – JS, *sc11, dc1, sc11, dc1, sc10*, sc1, ES
27 – JS, *sc2, {(dc1, sc1) x3, dc1, sc5} x2, (dc1, sc1) x3, dc1, sc1*, sc1, ES
28 – JS, *sc1, dc1, sc9, (dc1, sc5) x2, dc1, sc9, dc1*, sc1, ES
29 – JS, *dc1, sc3, (dc1, sc1) x5, dc1, sc5, (dc1, sc1) x5, dc1, sc3*, dc1, ES
30 – JS, *sc34*, sc1, ES
31 – JS, *sc6, dc1, sc5, dc1, sc9, dc1, sc5, dc1, sc5*, sc1, ES
32 – JS, *sc5, (dc1, sc7) x3, dc1, sc4*, sc1, ES
See you next week!
Remember, you can sign up to my mailing list to receive notifications:
Subscribe to our newsletter!
©? 2021 Ashlee Brotzell.
All rights reserved. This publication is protected under federal copyright laws. Reproduction or distribution, in whole or in part, in any medium, is strictly prohibited.
What does this mean?
This is an original pattern by Ashlee Brotzell. You may not copy, reproduce, sell, or share any part of it whether for profit or not. This includes, but is not limited to, the written pattern, the chart, and the photos. No translations or video tutorials are allowed.
Sales of your finished items are, of course, unrestricted (and I wish you all the best!). I appreciate credit given to the designer when possible but it is not a requirement. You may tag me @AshleesLint or direct people to my website www.ashleeslint.com


0 Comments